
Blog
Record Test Script using Selenium IDE

Record Test Script using Selenium IDE
In this tutorial, we will learn the steps involved in Recording a Test Script with the Selenium IDE tool. Let’s record a sample test using Selenium IDE.
Record Test Script
Steps to create a project:
Click on the REC start recording button as shown below:
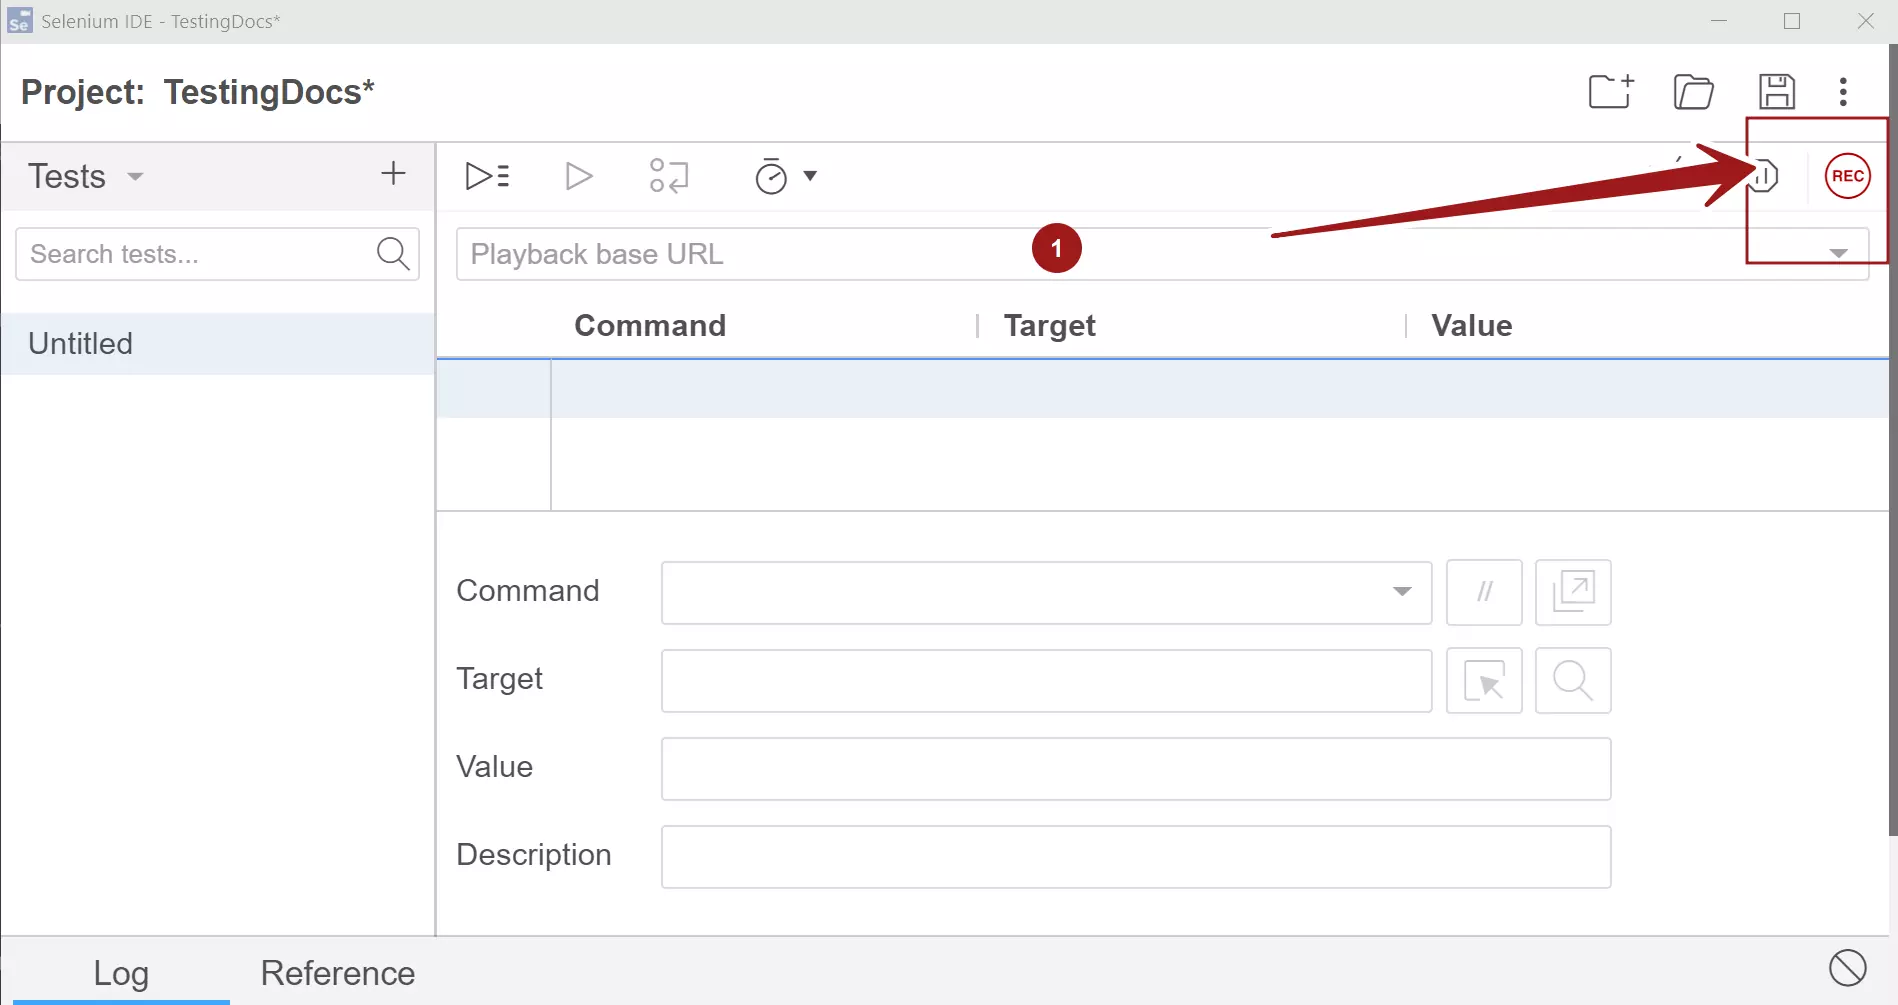
Setup Project Base URL.
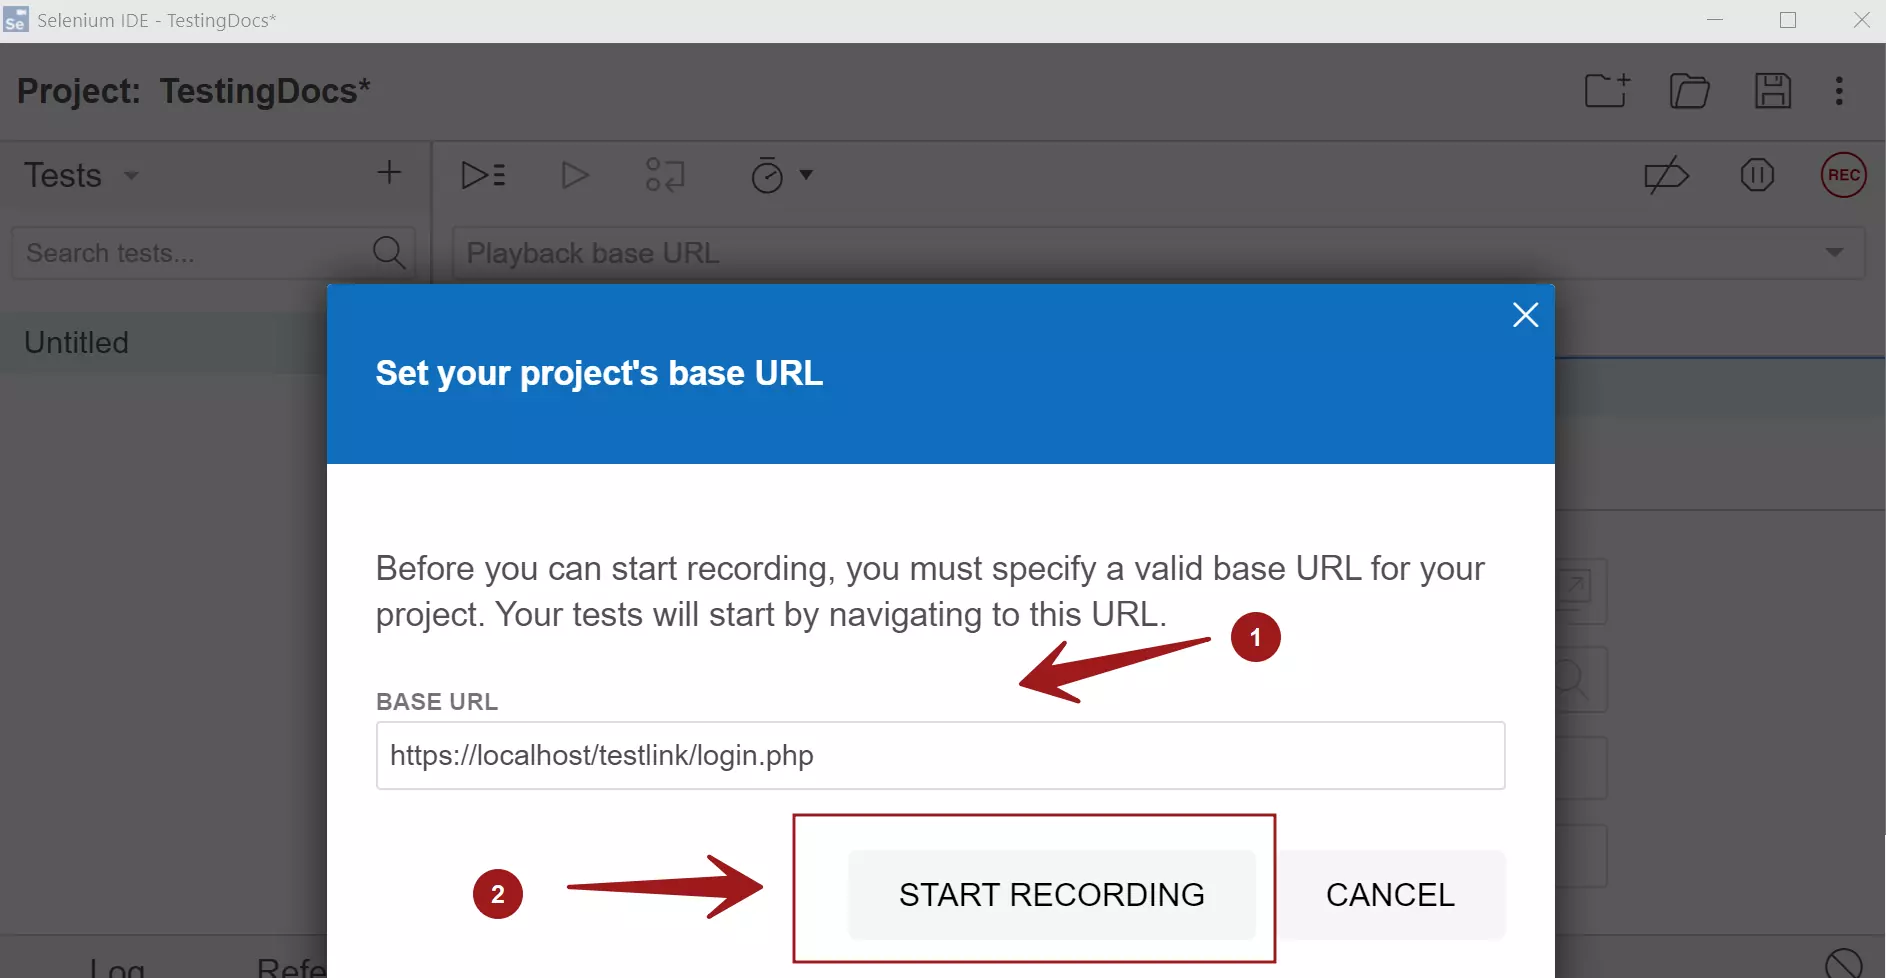
Enter project BASE URL and Click on the START RECORDING button.
Perform the actions on the web application. The tool will record the actions performed on the application.
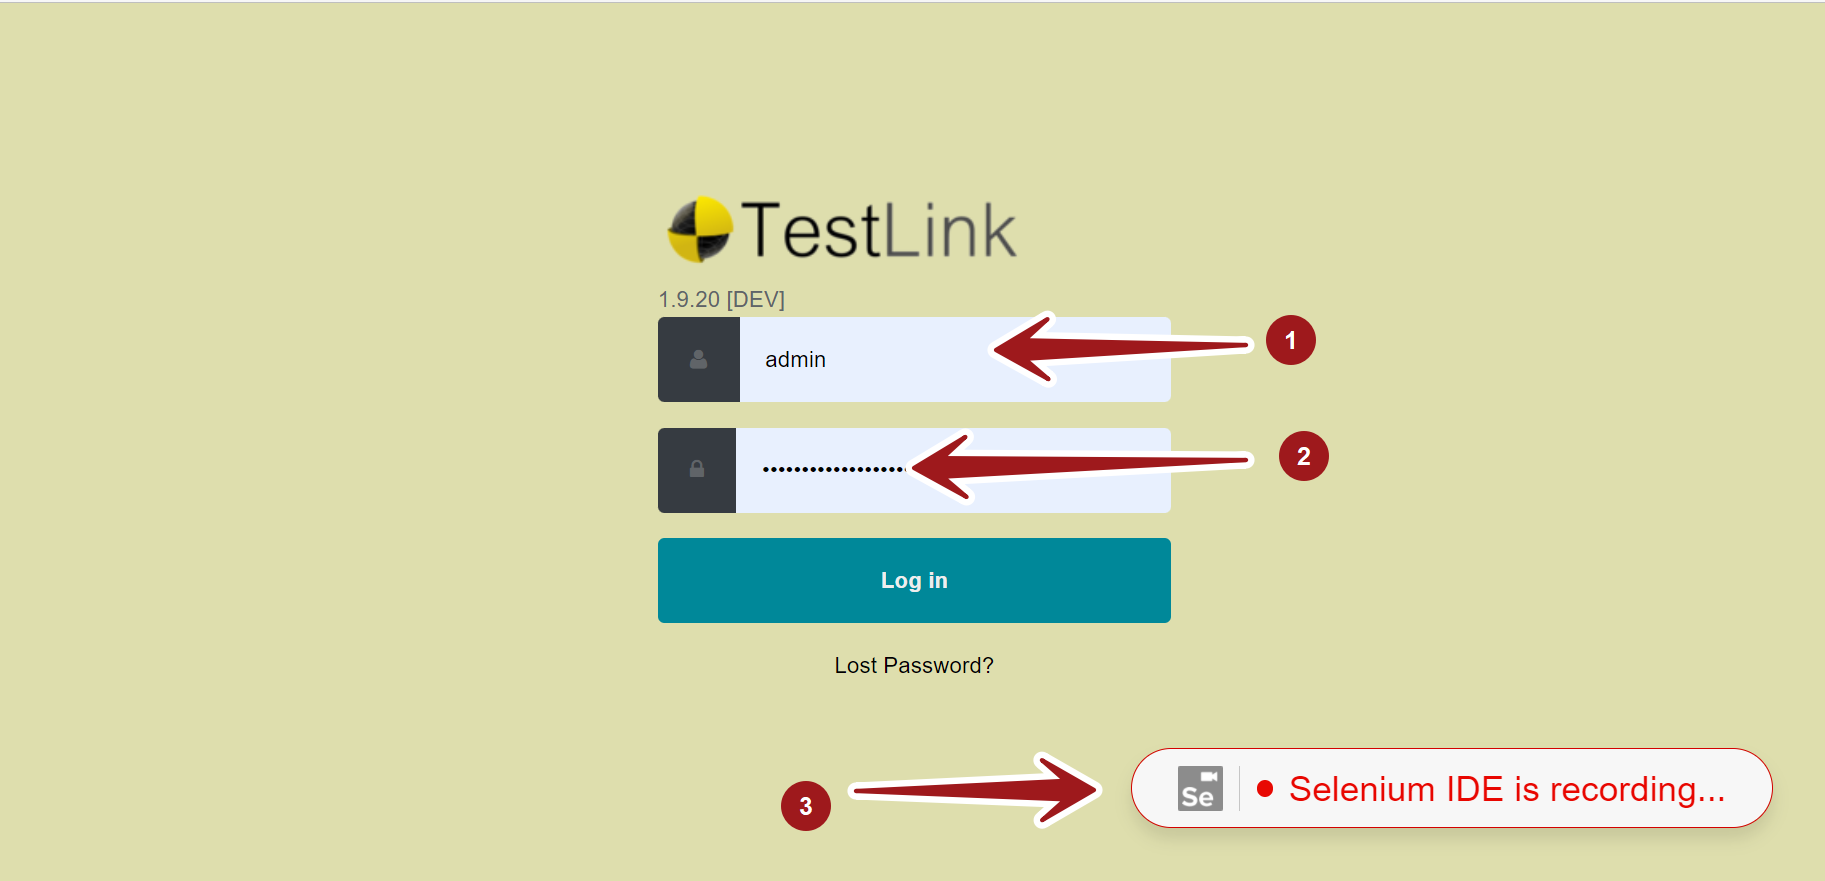
After the action, Stop the recording by clicking on the Red button.
Click on the Floppy disk icon to Save the Test. For example TestLinkLoginTest
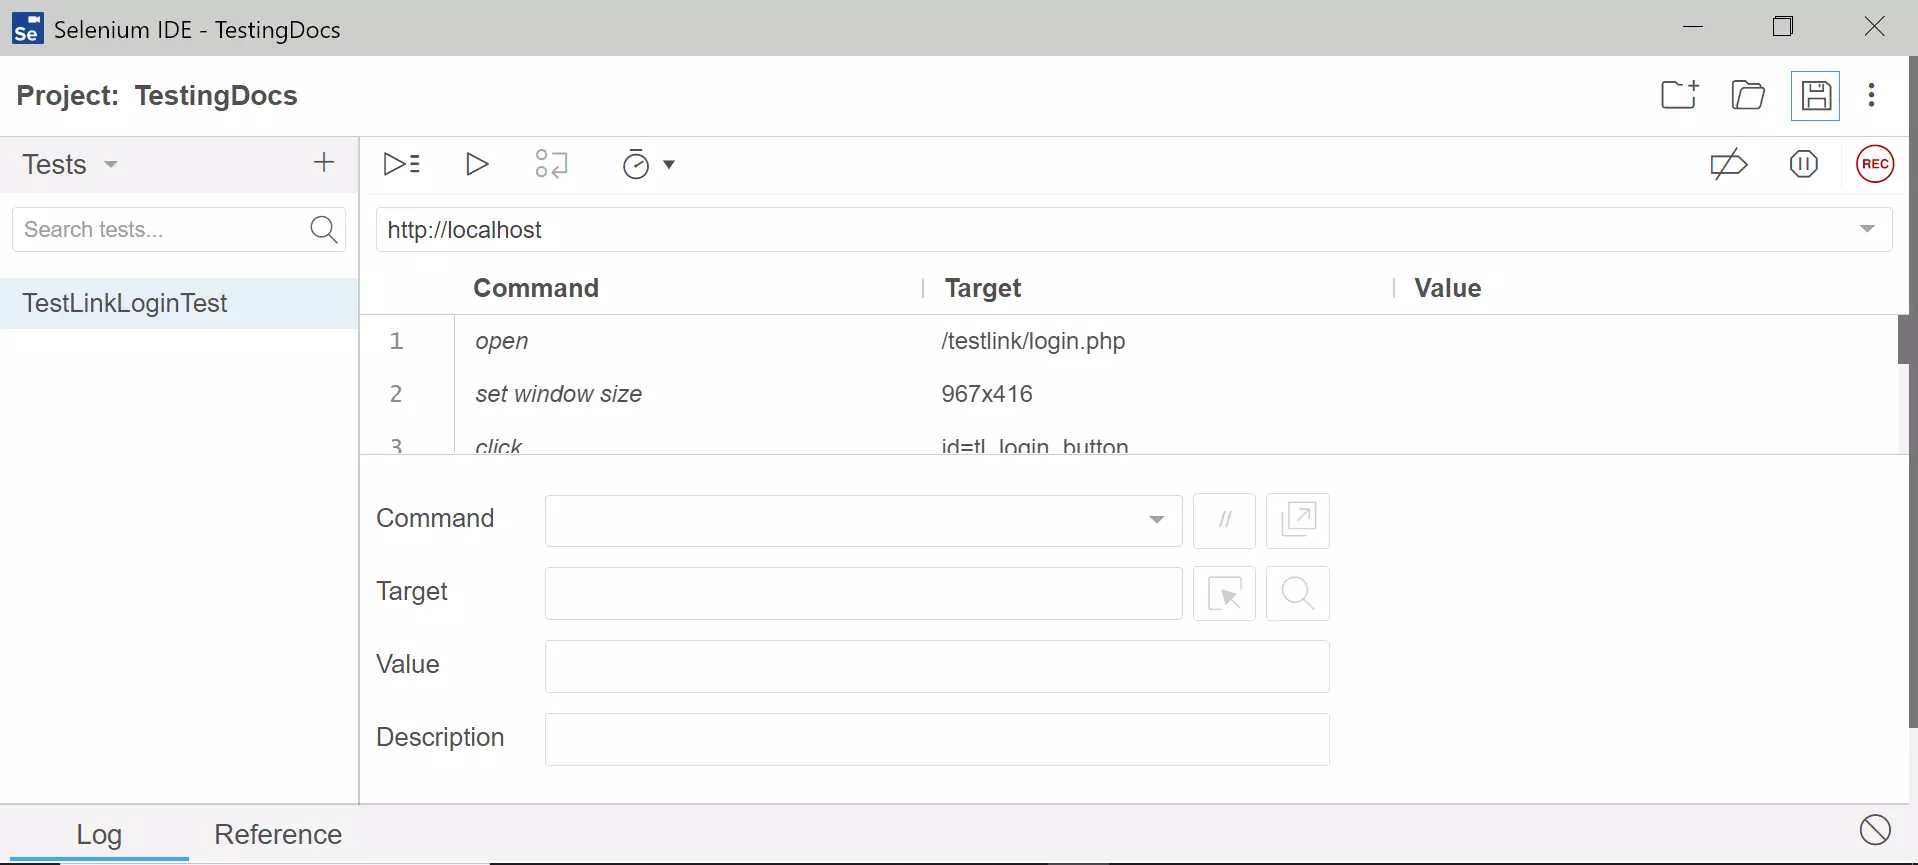
We can see that the tool recorded the action performed in the Test window.
Selenium IDE 2.x
** This is an old version and is now deprecated and no longer valid**
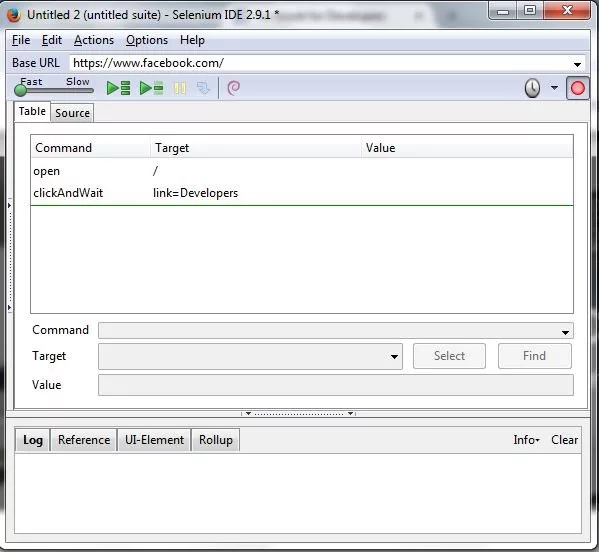
- Open the Mozilla Firefox Browser with the IDE installed. Open the base URL of the Application to record.
- Launch Selenium IDE. Click the Selenium IDE extension button.
- Click on the Recording button, which is red in color. Perform the actions on the application as you are testing it.
- Once you finish the recording, click on the stop recording button.
- Save the test case through the file menu.
- It will be saved as a Selenese script in HTML format by default.
Selenium IDE Tutorials:
For more information on Selenium IDE:
- https://www.selenium.dev/selenium-ide/