
Blog
Download FileZilla on Windows 11

Download FileZilla on Windows 11
In this tutorial, we will Download FileZilla on Windows 11 operating system. FileZilla is a cross-platform and free FTP software( File Transfer Protocol). An FTP client lets you transfer files from your local machine to the remote machines, servers, etc.
FileZilla clients are available for different operating systems like:
- Windows
- Linux distributions
- macOS
Download FileZilla
To download FileZilla, follow the instructions below:
Navigate to the FileZilla website. Click on the download link.
- https://filezilla-project.org/
Click on the button Download FileZilla Client
This will pop up a window that asks you to choose the FileZilla edition.
There are two main editions for FileZilla.
- FileZilla( free )
- FileZilla Pro( paid )
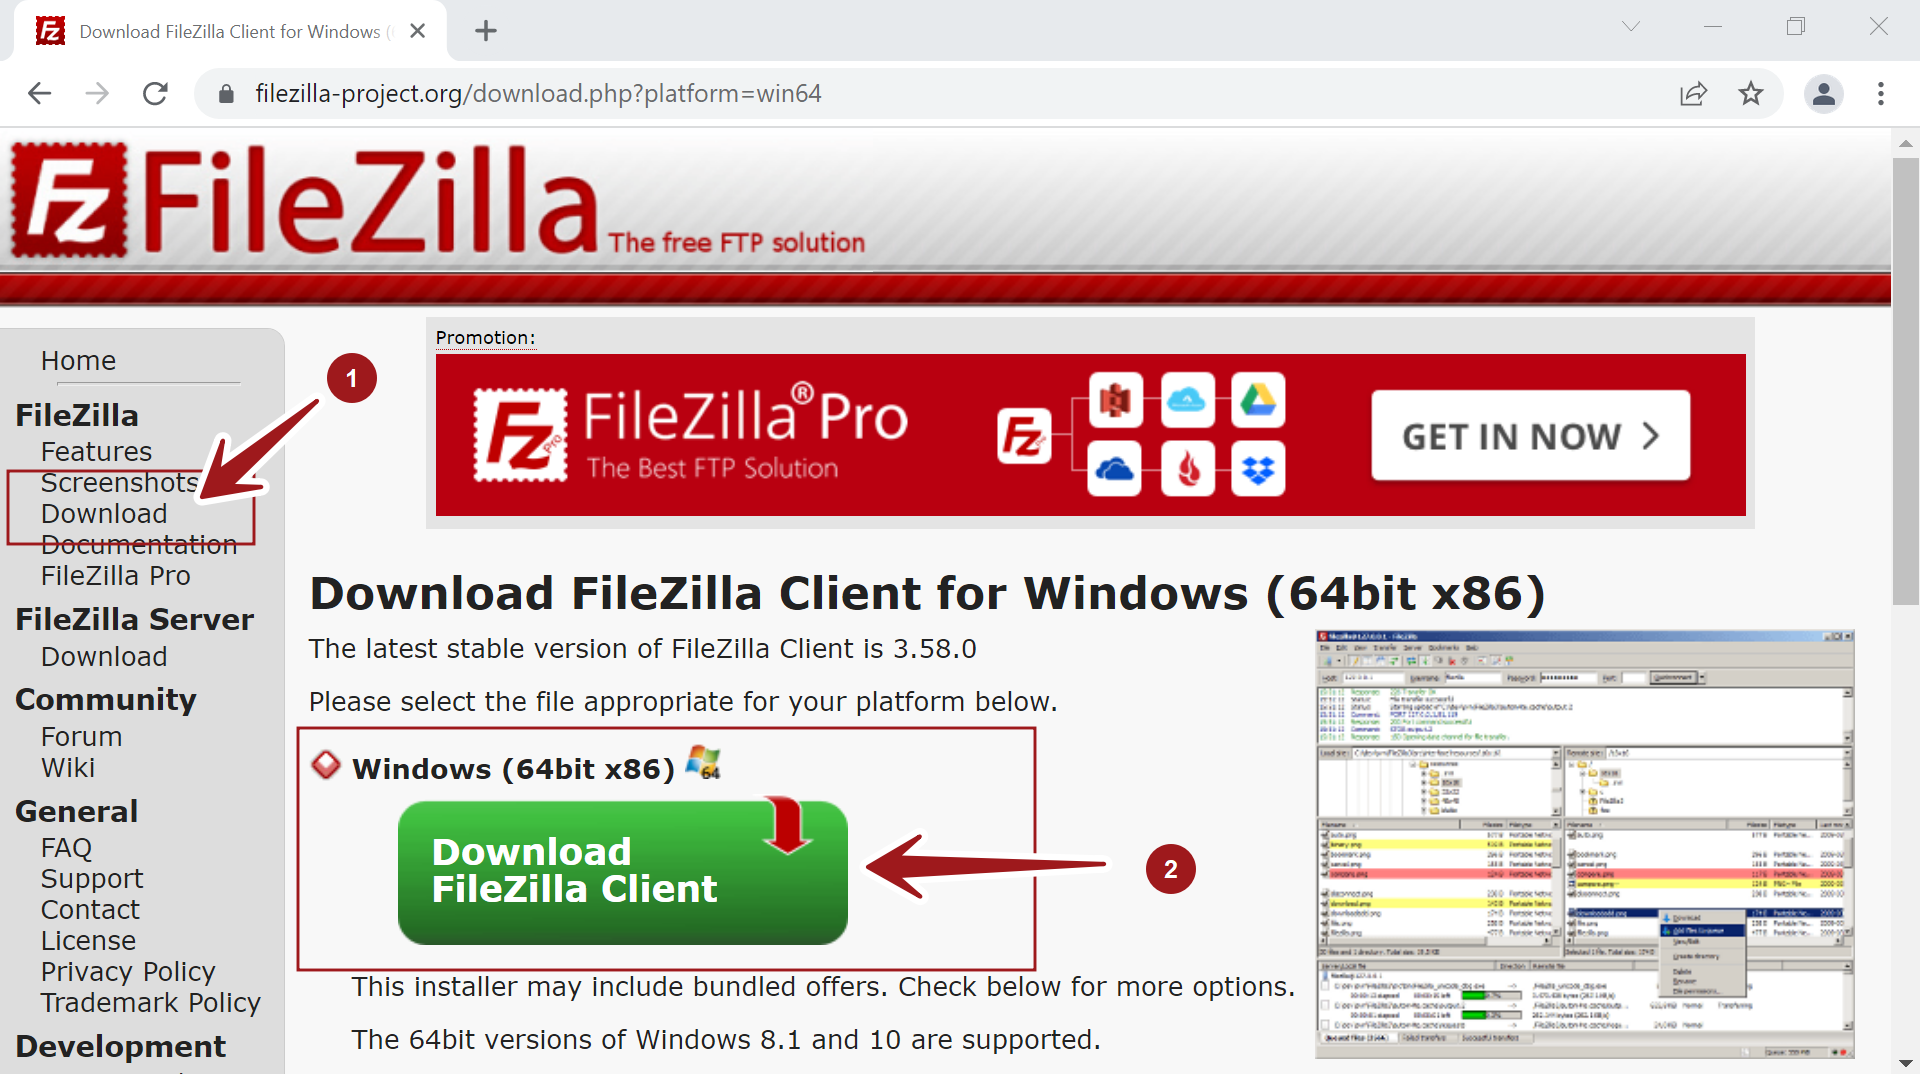
Click the Download button under the FileZilla column to download the free version.
Save the installer onto the computer.
Install FileZilla
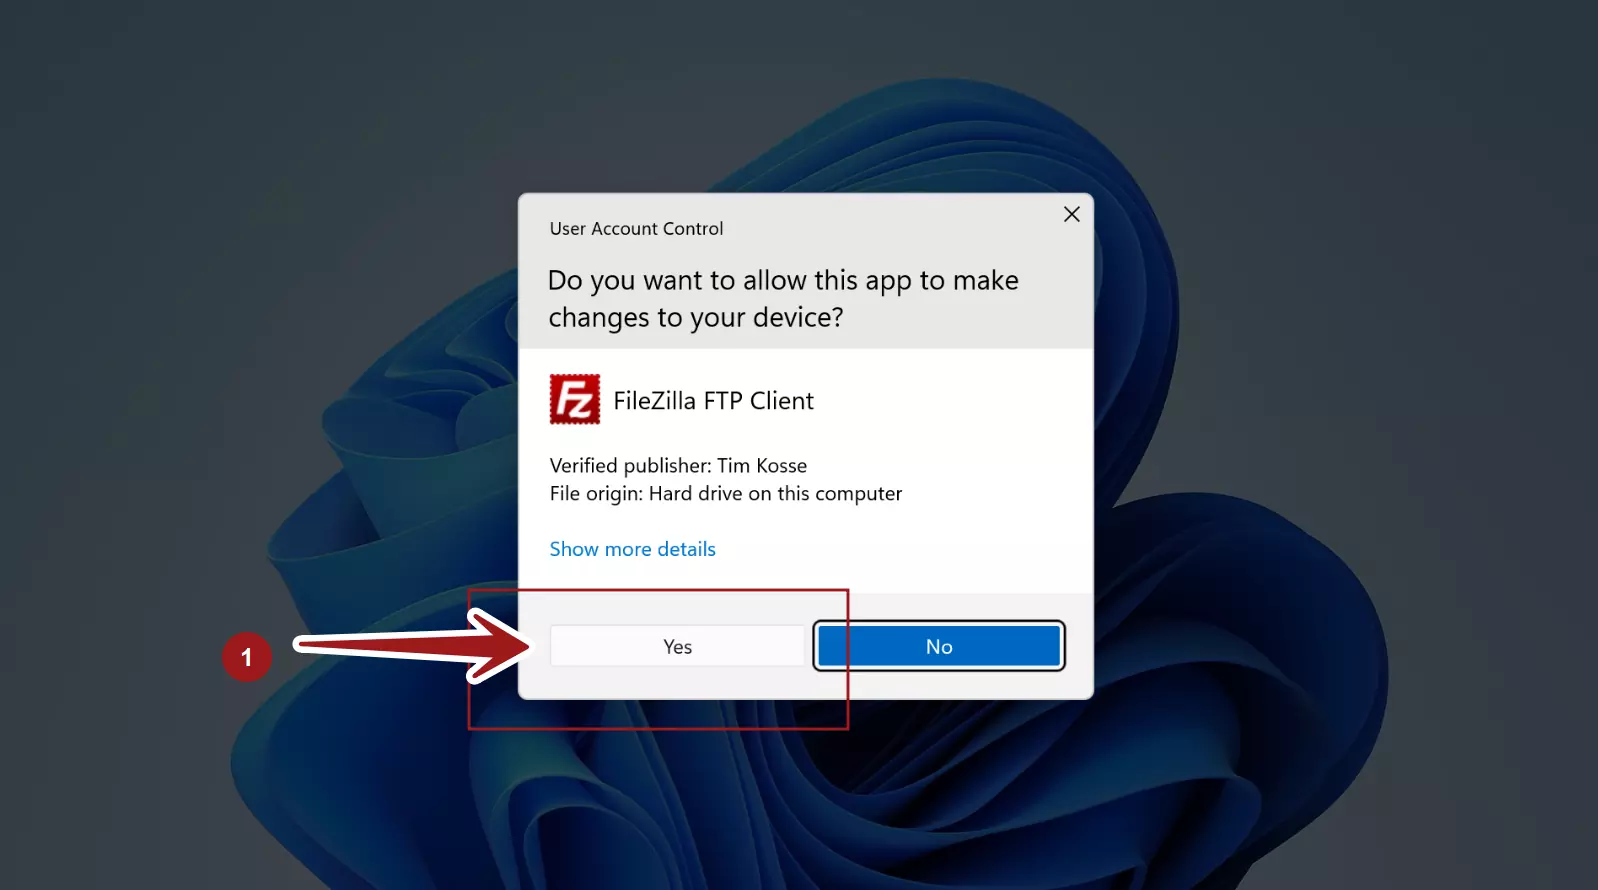
Double-click on the installer to start the FileZilla installation. Follow the instructions to complete the installation.
Click on the Yes on the UAC prompt.
Read and Accept the License Agreement. Click on the “I Agree” button.
FileZilla Install Options
Choose the installation option to install for all users or just only for you on the computer. Click on the Next > button.
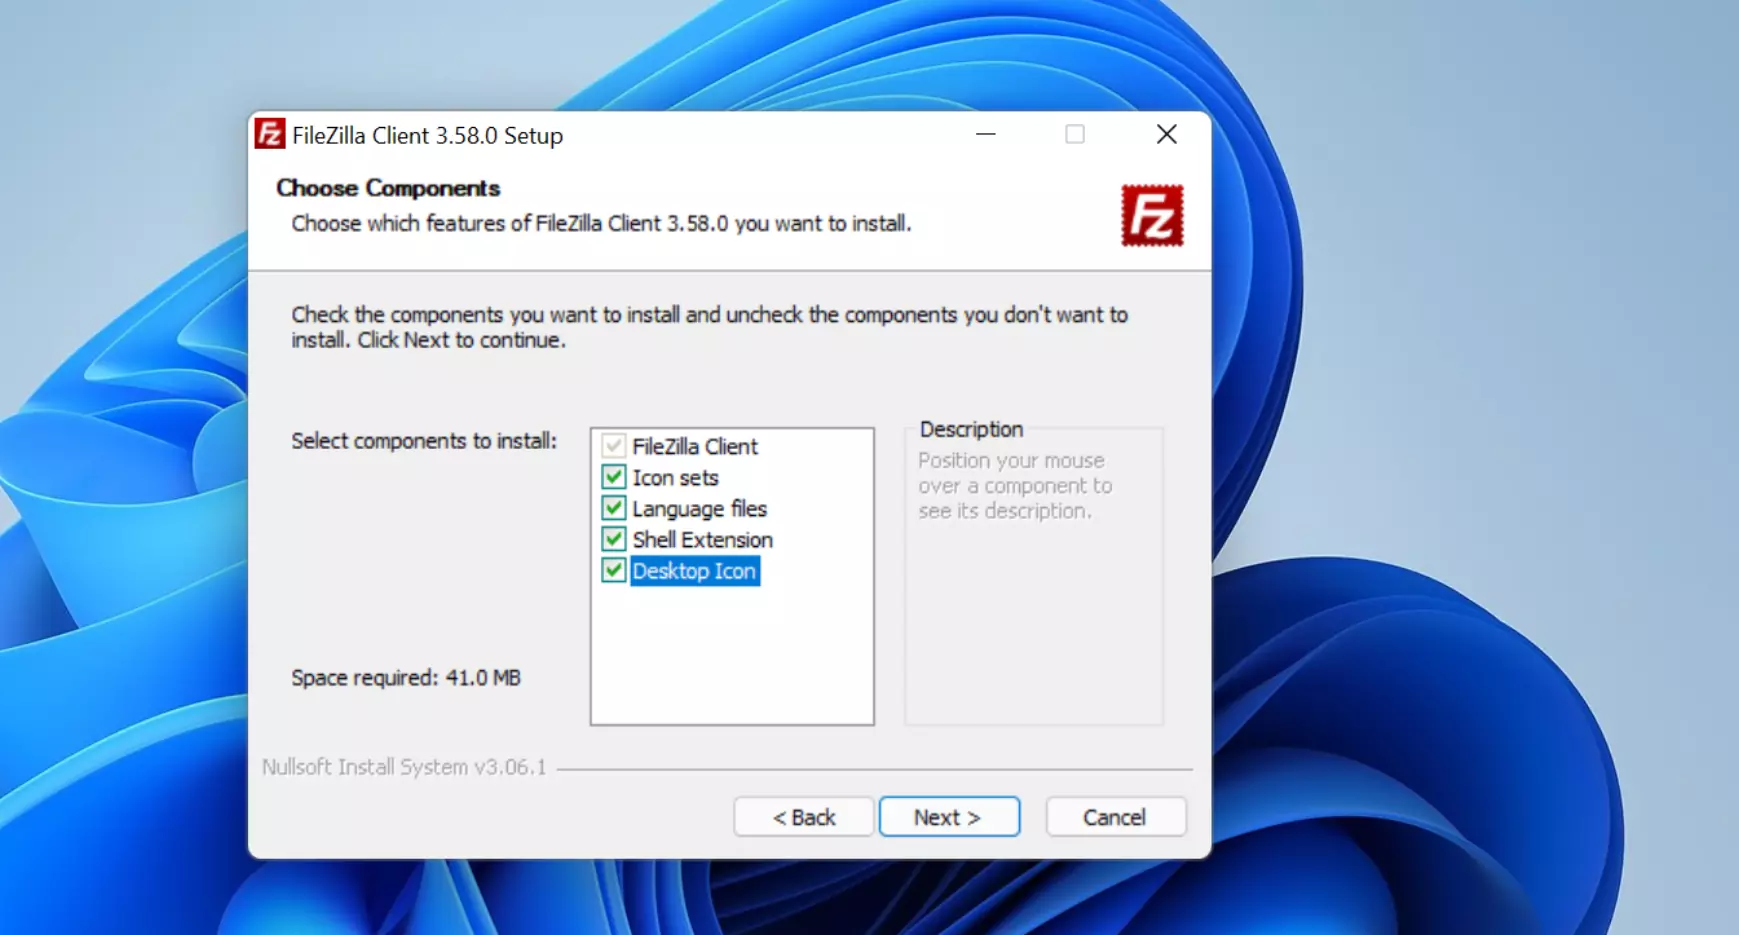
Choose components to install. It’s recommended to select all the components. Click on the Next > button.
In the next screens, we can choose the install directory and to create the Start Menu folder.
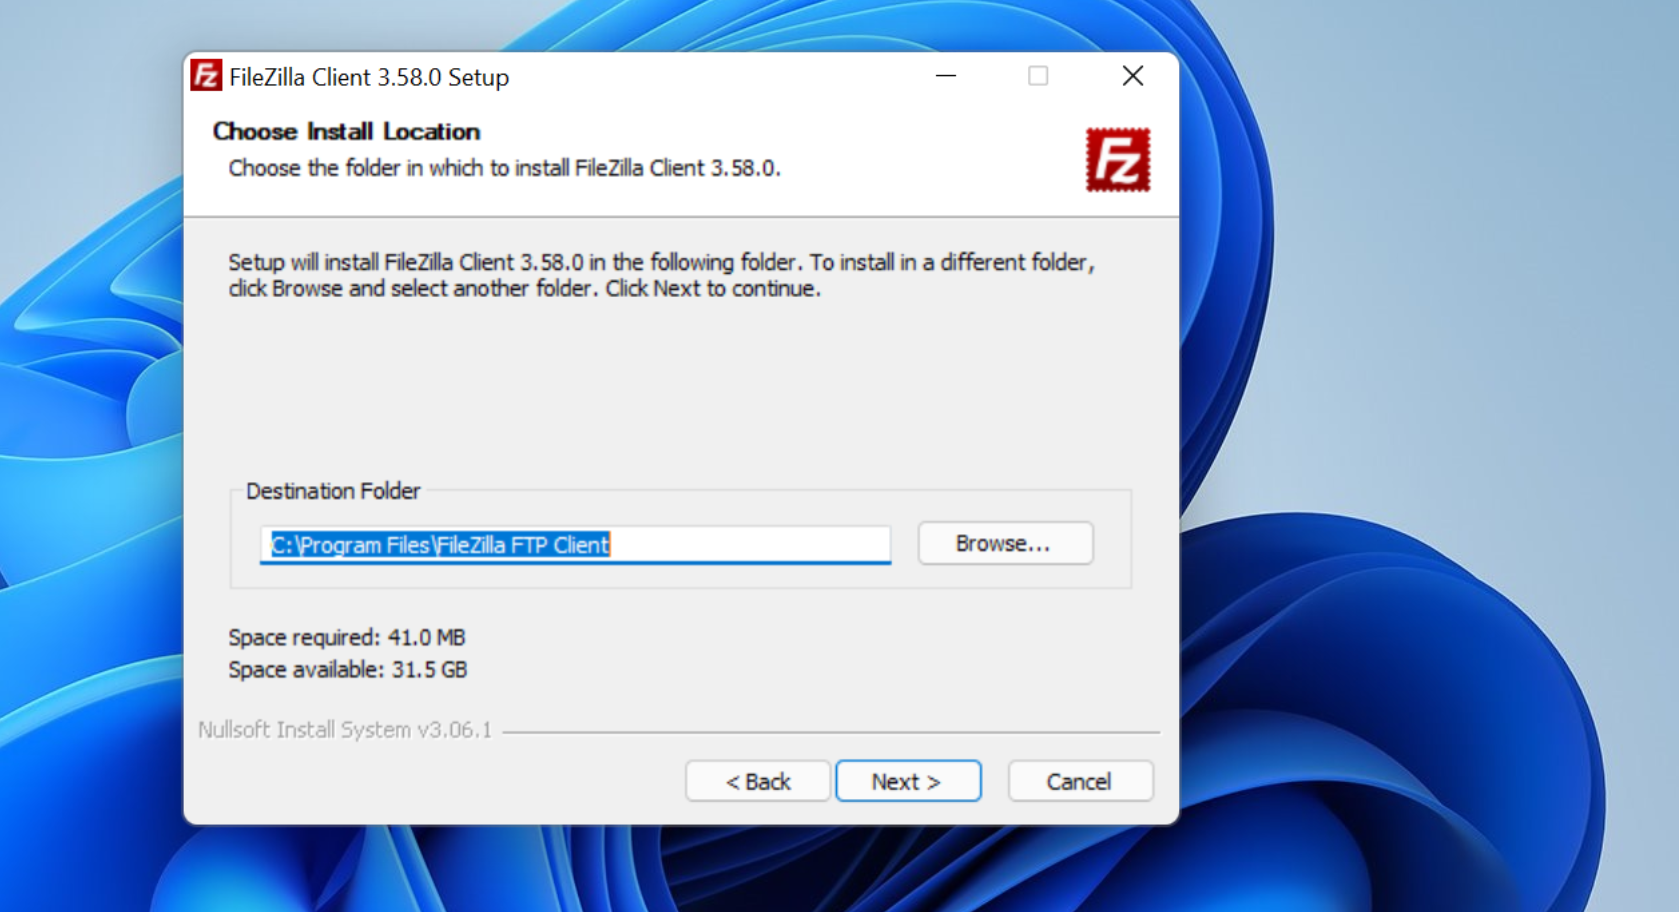
Click on the Install button to install the FileZilla client.
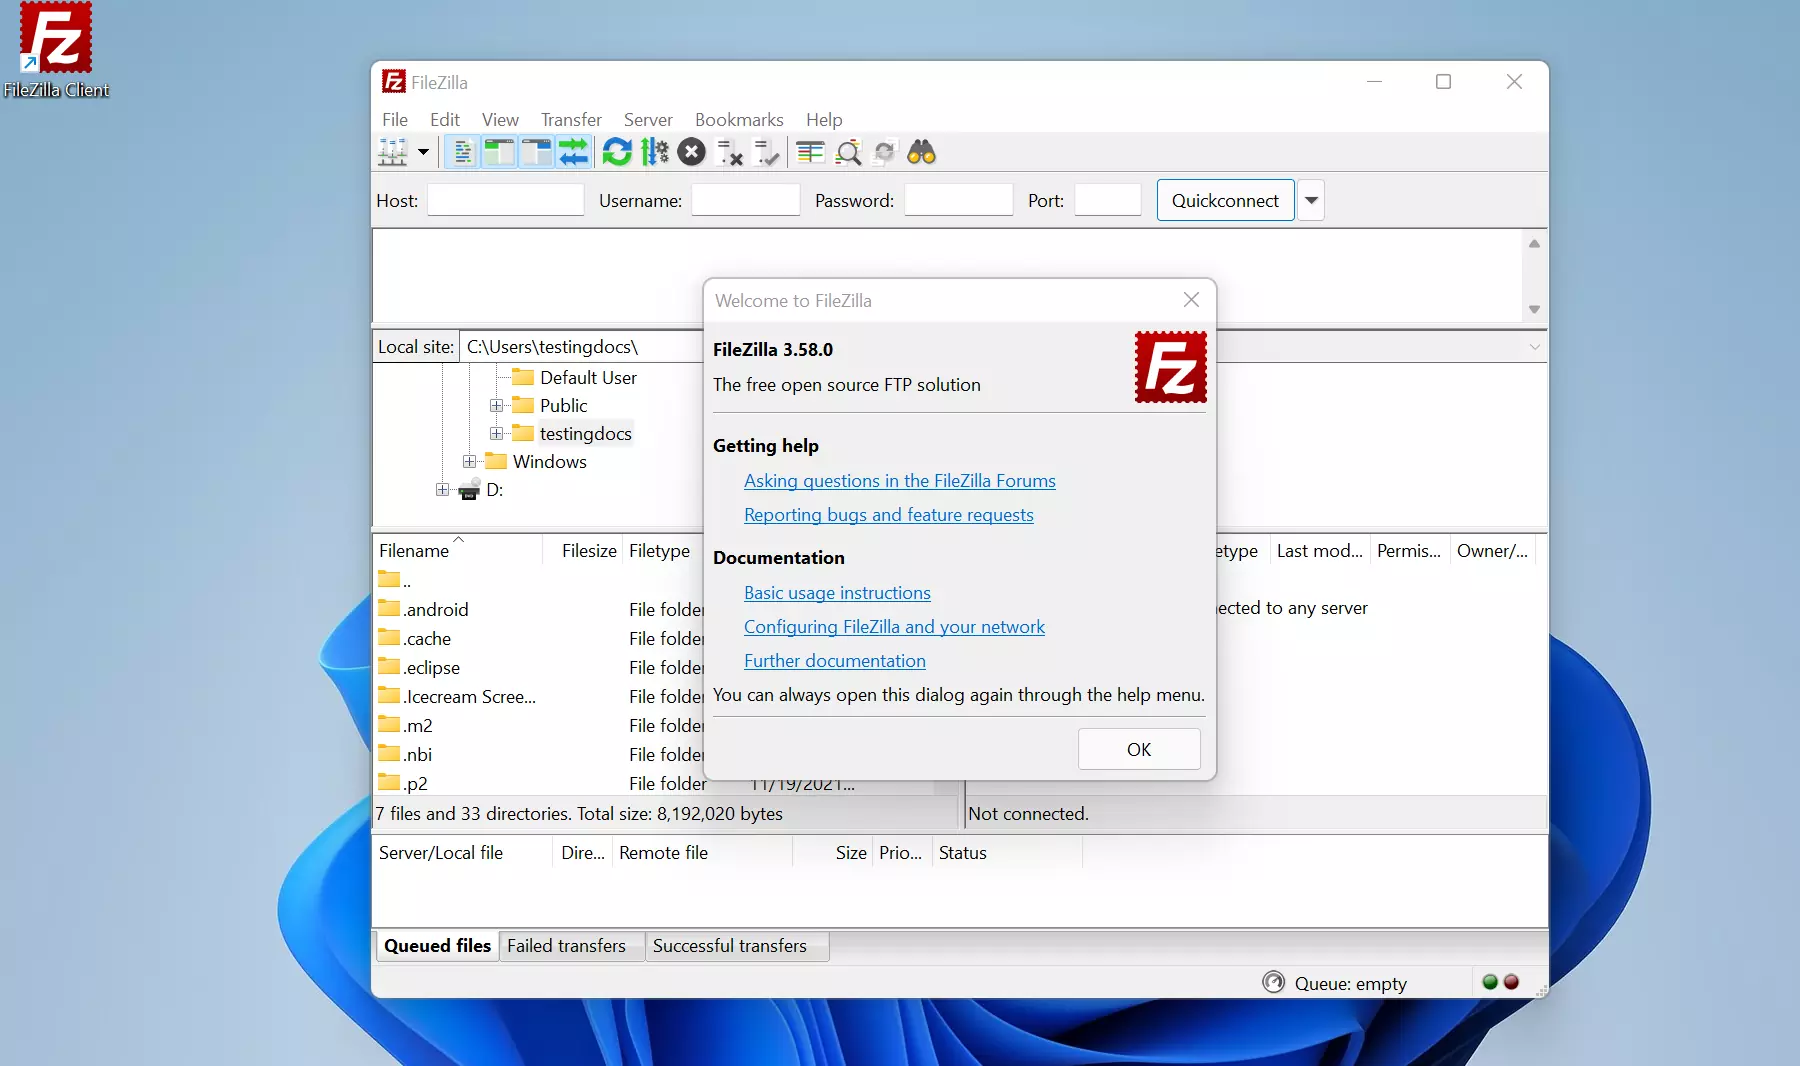
That’s it. FileZilla would be installed on the Windows 11 machine. Click on the Desktop icon to launch the tool.